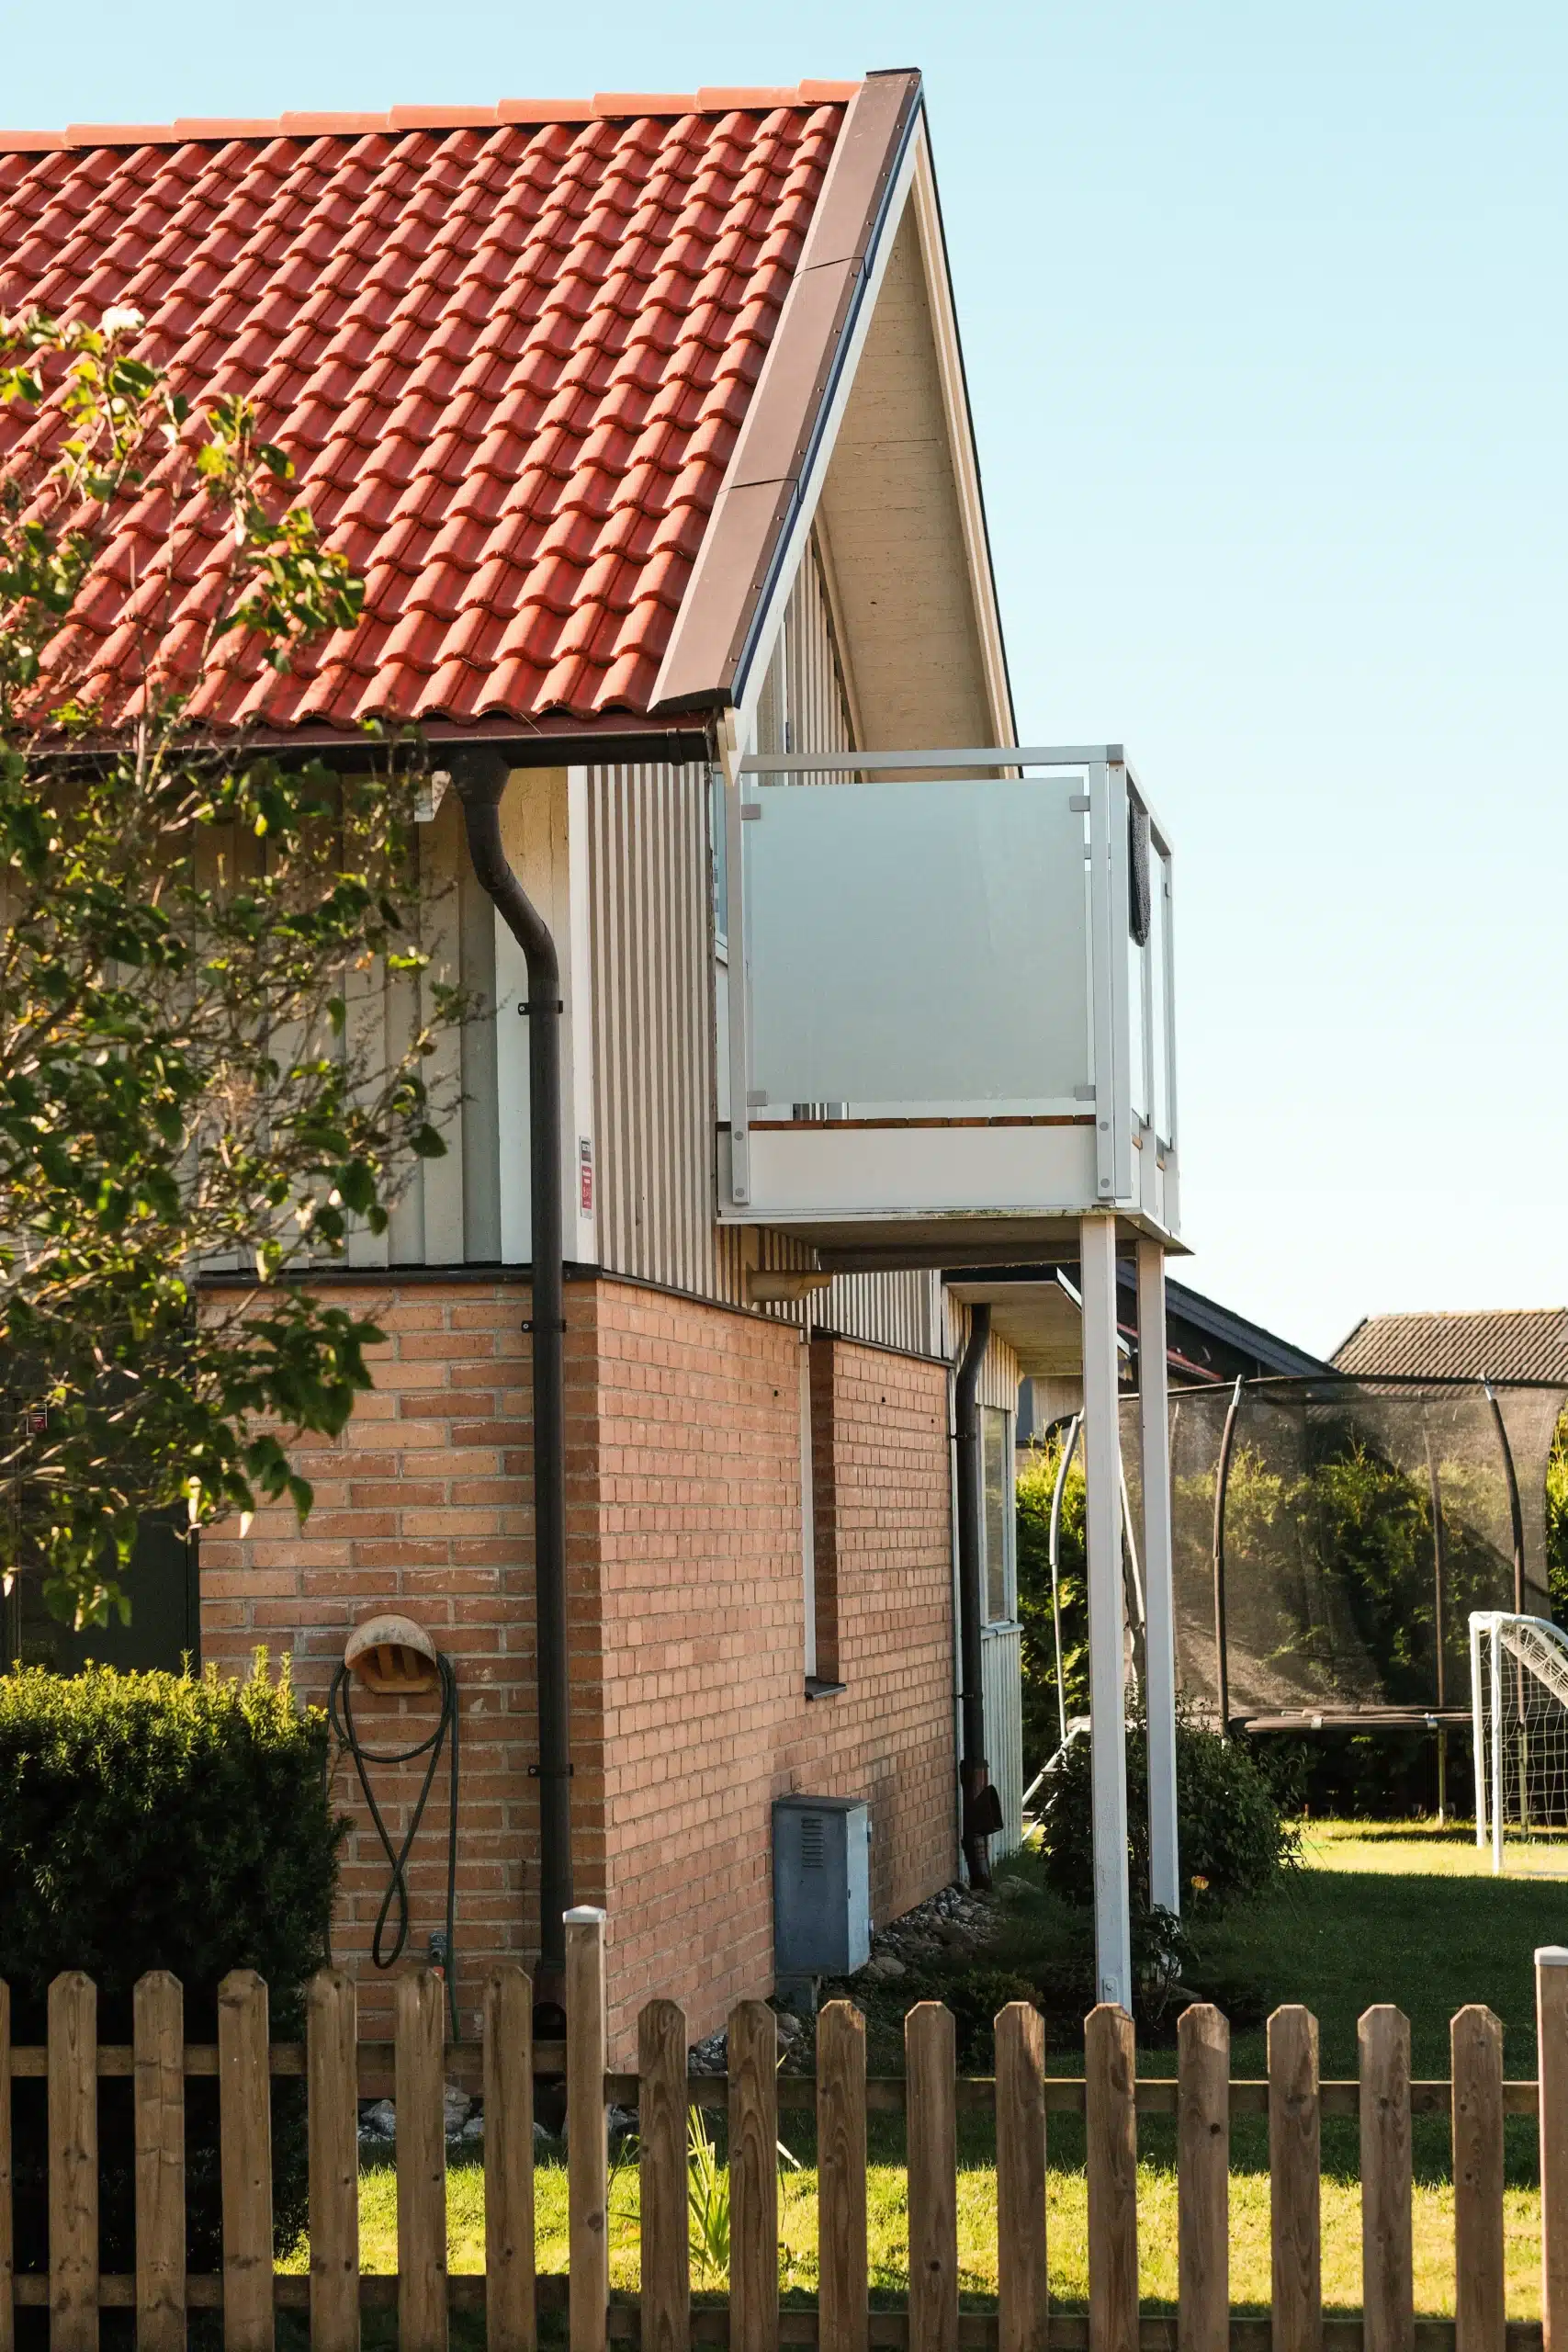
To choose and order a railing, you need to know the lengths of the sections, where the railing will start and end, and how it will be installed.
This measurement guide will help you take measurements before purchasing railing for your patio, balcony, Juliet balcony , and stairs. We’ll go over which measurements are important for different locations and how to document them before placing your order.
Always start with the location where the railing will actually be installed. The dimensions of the finished structure are also affected by the selected balustrade system and fixing. Therefore, it is important to check the installation requirements and the model-specific instructions before placing your order.
Prepare for the measurement before choosing a railing
Before you start measuring, you need to decide where to place the railing and which parts of the area to measure. With a few simple preparations, it will be easier to record the correct measurements.
Use a measuring tape
Measure carefully in millimeters (mm) and double-check each measurement. Base your measurements on the actual installation location, not just on a drawing.
Take photos and sketch
Take photos from several angles and make a simple sketch. Mark lengths, corners, openings, and other details that affect the placement of the railing.
Select the start and end points
Determine where the railing should begin and end. Also note changes in direction, stairs, gates , and connections to walls.
Check the substrate
Determine the material to which the railing will be attached and whether it will be mounted on top of the substrate, on the side, or against a wall.
How to Measure a Balcony or Patio Railing
When measuring for a decking balustrade , you need to start by determining where the railing will be placed and how long each section is. Measure each side separately and check where the railing will start, end, and change direction.
-
1
Measure each side separately
Measure the length of each continuous section where the railing will be installed. If the balcony has multiple sides or corners, write down a measurement for each section.
-
2
Check the measurements in several places
Feel free to measure the same distance at several points. Balcony floors, edges, and walls aren't always completely straight. Note any differences rather than relying on a single measurement.
-
3
Decide on the location and fixing
Check whether the railing is to be mounted on top of the base (top mounting) or on the outside of the edge (side mounting). The placement affects where measurements need to be taken and how much space is available for fixing.
-
4
Note corners, openings, and stairs
Indicate where the railing changes direction or is interrupted by an opening, gate , or staircase. Also note where the railing is to connect to a wall or other structure.
How to Measure for a Balcony and Juliet balcony
For a standard balcony balustrade , measure the distances where the railing will be installed. For a Juliet balcony , start instead from the doorway and the space for fixing on the facade. Here’s how to determine the correct measurements for each solution.
Measure for balcony balustrade
Start by considering the shape of the balcony and the length of the section where the railing will be installed.
- Measure each side. Write down the length of the front edge and any other sides separately. Note the corners and joints.
- Determine the location. Check whether the railing should be mounted on top of the balcony slab or on the side of the edge.
- Check the surface. Note where the railing can be anchored and whether there are openings or other details to take into account.
Measure for Juliet balcony
Base your measurements on the width of the doorway and the surface where the railing will be mounted.
- Measure the width of the opening. Check the width at several heights and note if the measurements differ.
- Check fixing. Note whether the railing is to be installed in the opening or on the exterior of the facade, and what type of substrate it will be anchored to.
- Inspect the door. Check the direction of opening, the handle, the threshold, and other details that may affect the placement of the railing.
The measured lengths and opening dimensions are the starting point. The dimensions to be used when placing an order depend on balustrade system, the installation method, and the dimensional specifications that apply to the selected model.
How to Measure a Stair Railing
When measuring for a staircase balustrade , you need to take into account the staircase’s slope, the dimensions of the steps, and where the railing should begin and end. Also check how the railing will be installed and whether it continues onto a landing or another flat surface.
-
1
Mark where the railing should start and end
Determine the starting and ending points of the railing. Note whether the railing will continue onto a landing, connect to a wall, or transition to a railing on a flat surface.
-
2
Measure the length along the slope of the stairs
Measure the sloped distance between the planned start and end points, not just the horizontal distance. Write down the measurement in millimeters (mm).
-
3
Check the step height, step depth, and number of steps
Measure the height and depth of the steps and count the number of steps. Be sure to check several steps so you can identify any differences. These measurements will help you describe the staircase's slope.
-
4
Decide on the location and fixing
Note whether the railing is to be installed on top of the ladder, on the side of the stairs, or against a wall. Check the surface and feel free to take photos of the stairs both from the side and from the front.
Key measurements and details to check
Before placing your order, you need to verify that all dimensions are clear and that nothing is missing from the documentation. Use the checklist to compile the information regarding the railing’s location, fixing , and design.
Check these six points
-
Are the start and end points of the railing marked?
Mark where the railing should begin and end. Also check any connections to walls or other railing sections.
-
Have you measured each side separately?
Write down the length of each continuous section in millimeters (mm). Double-check the measurements one more time, especially at corners and changes in direction.
-
Are openings and interruptions noted?
Mark stairs, gates, doorways, and other locations where the railing should be interrupted or change direction.
-
Are the placement and installation instructions clear?
Note whether the railing is to be mounted on top of the base, on the side of an edge, or against a wall. Make sure the placement matches the balustrade system you choose.
-
Have you checked the surface?
Determine the material to which the railing will be anchored and check the condition of the substrate. Fixing must be suitable for both the structure and the location.
-
Have you gathered some photos and a sketch with measurements?
Please supplement the measurements with photos taken from several angles and a simple top-down sketch. Finally, check which measurements should be specified for the selected railing model.
Ready to choose a railing?
Once you've checked your measurements and installation requirements, you can compare our railing solutions and find an option that fits your space. If you're unsure about your measurements or which railing to choose, our customer service will help you further.