Use a steel tape measure
Measure carefully in millimetres. Avoid using a folding rule.

Taking accurate measurements from the start makes it easier to choose a solution, get advice and place an order. This guide explains how to measure for decking, balconies, Juliet balconies and stairs, and what information to gather before taking the next step.
To measure accurately, it's a good idea to prepare and keep a few important things in mind before you begin.
Measure carefully in millimetres. Avoid using a folding rule.
Take photos from multiple angles so we can see the whole picture.
Mark dimensions, corners, openings, and any obstacles.
Inspect the substrate and fixing options where the balustrade will be installed.
Where should the balustrade start? Are there stairs, gates, or corners?
When measuring for a balustrade on a deck or patio, first decide where it will go. Measure each continuous side and note any corners, openings, stairs or other interruptions.
Measure each side where the balustrade will be installed.
Measure at several points. Timber and decking are rarely perfectly straight.
Decide whether the balustrade should be mounted on top of the decking or on the outside of the deck edge.
Divide the measurements if the balustrade changes direction.
Mark openings, corners, and stairs.
Please note down which measurement corresponds to which side and take a quick photo or sketch. That makes it much easier to move forward with the right solution.
Mark each side separately and note any openings or changes in direction.
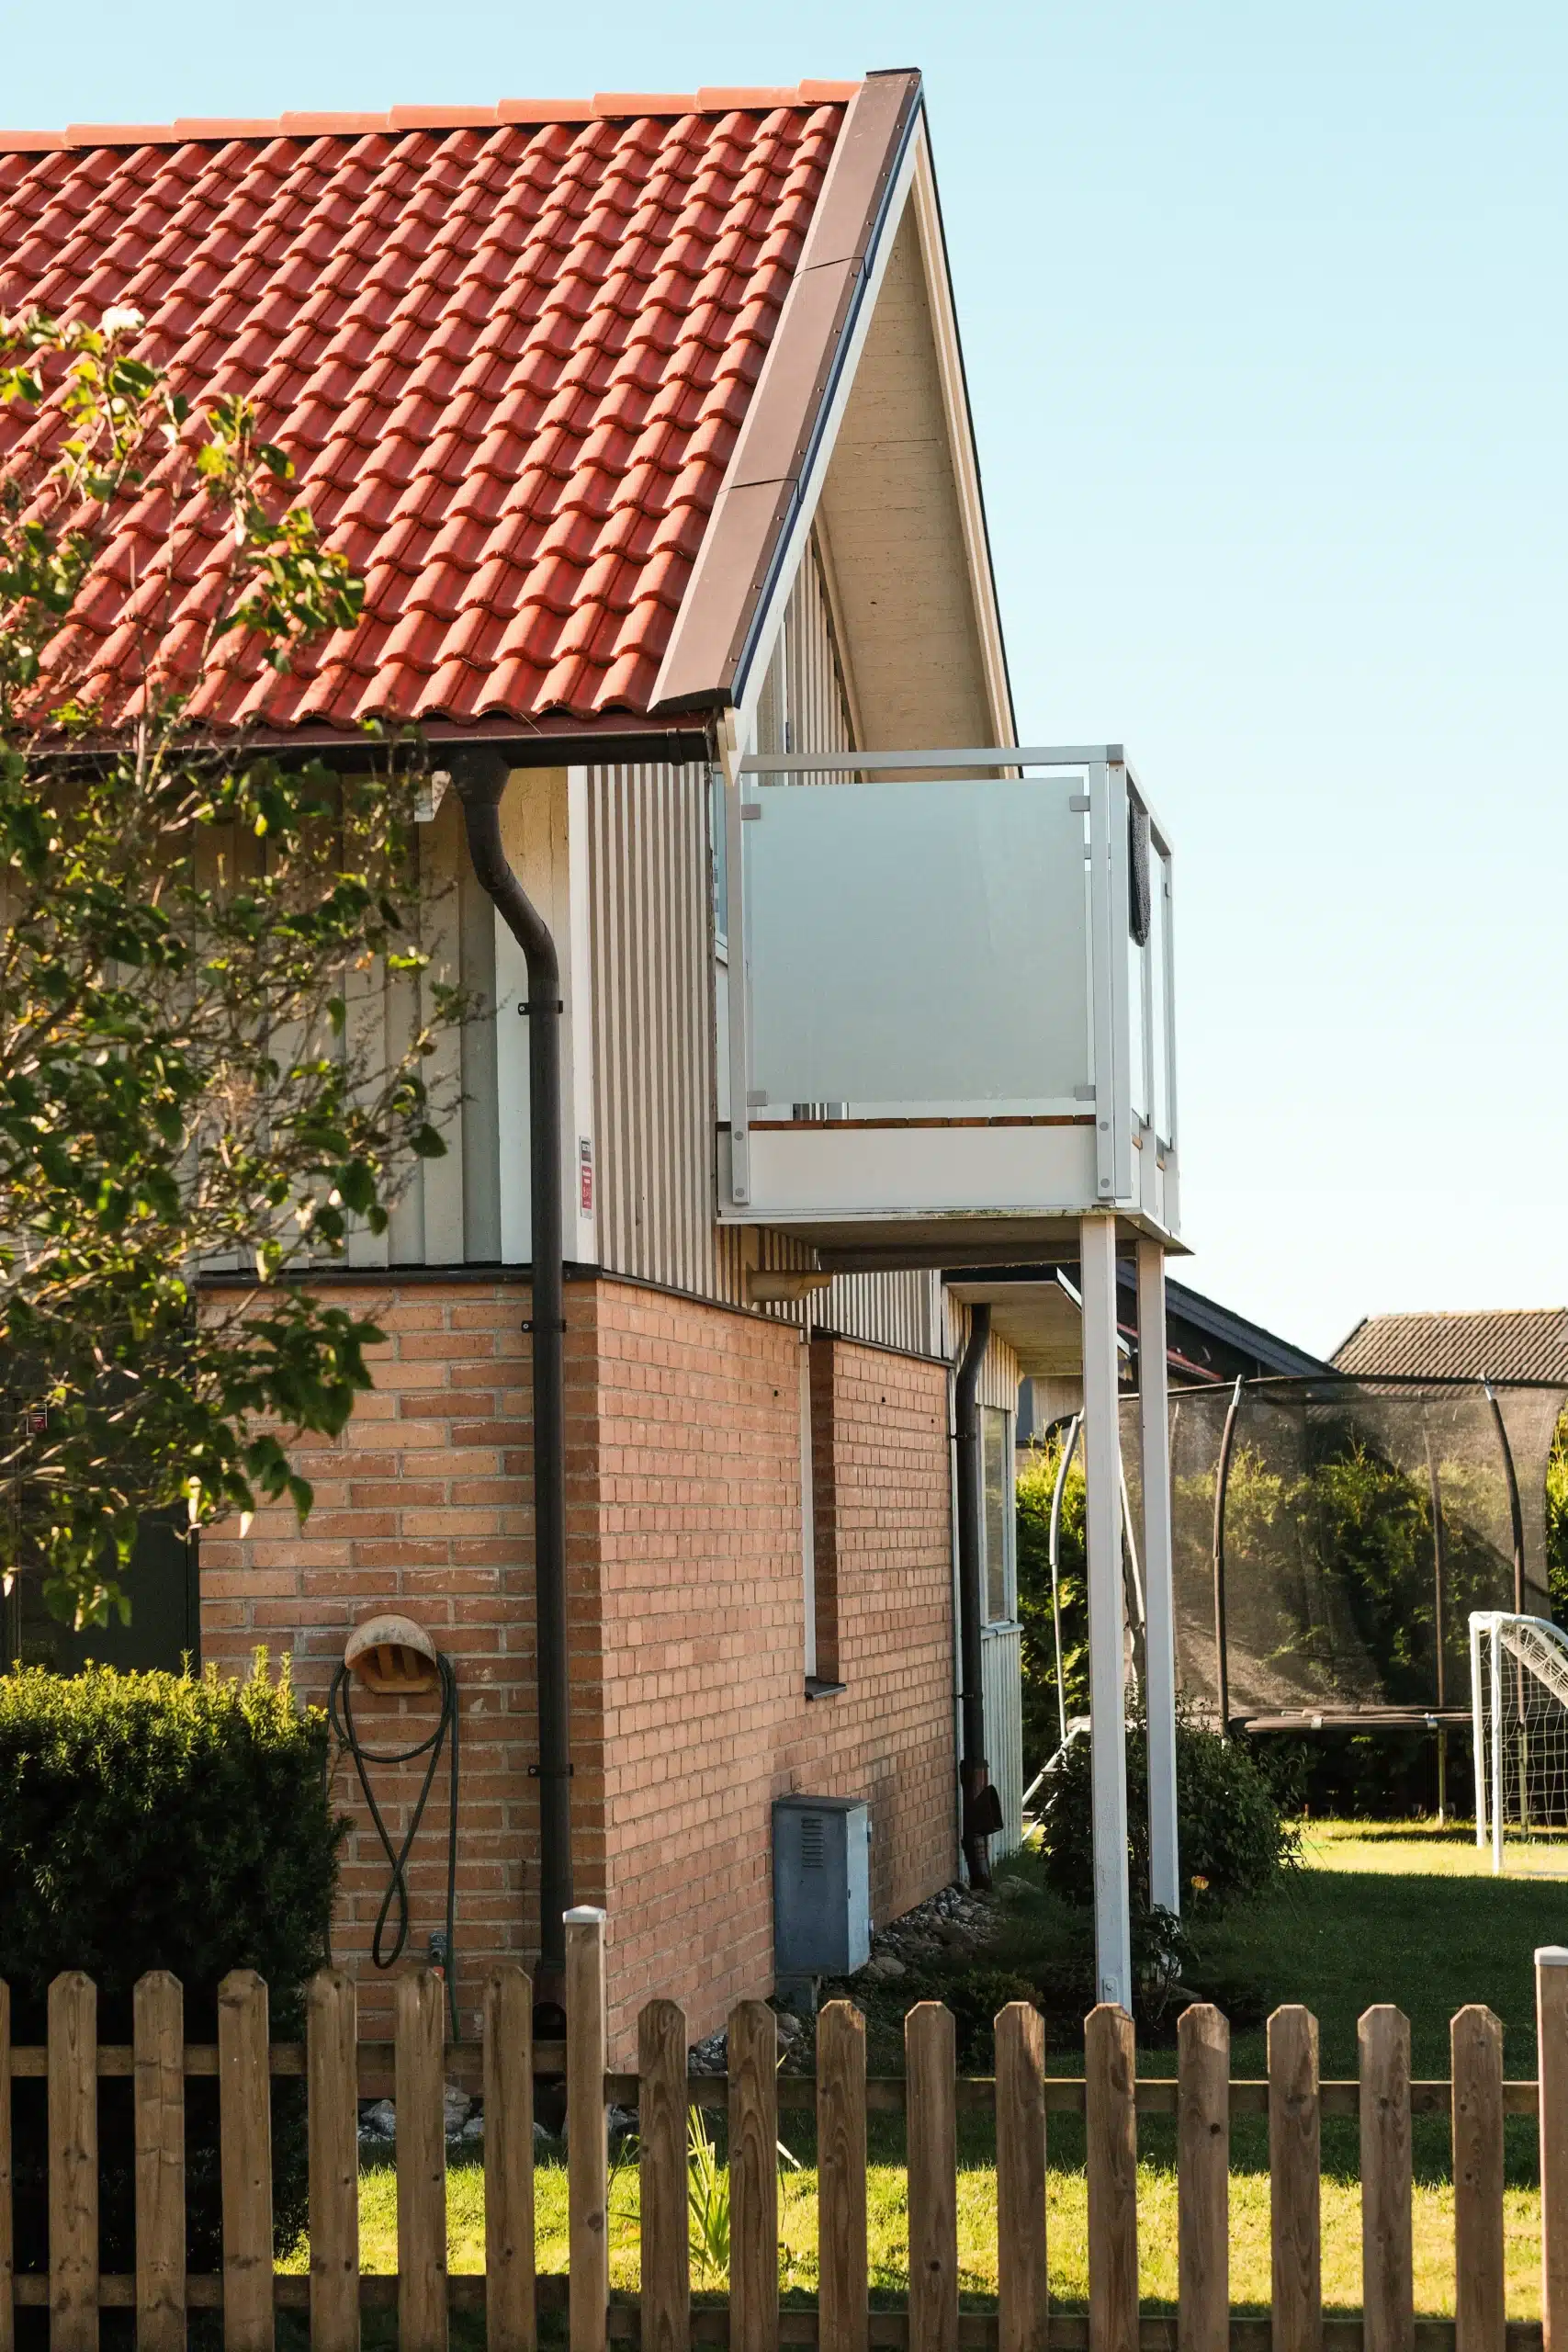
For a balcony, you first need to determine where the balustrade should be positioned in relation to the front edge and sides of the balcony. For a Juliet balcony, the opening and the mounting surface around the door are the most important things to check.
Measure the opening or the length where the balustrade will be installed – at several heights – and use the smallest measurement as your basis.
Decide whether the balustrade should be mounted on the inside or outside of the façade.
Note where there is a stable mounting surface and what material the wall is made of.
Take photos straight from the front and from the side.
A Juliet balcony is not always measured in the same way as a standard balcony balustrade. Record the width and approximate position of the opening, and check which way the door opens.
For a balcony, the main measurement is often the length of the balustrade. For a Juliet balcony, the measurements depend on its position and fixings.
When measuring for a stair balustrade, it’s important to consider how the balustrade will follow the slope of the stairs. Start by marking where the balustrade will begin and end, and note whether it continues onto a landing or a flat surface.
Mark where the balustrade should begin and end – and whether it continues onto a landing or a flat floor.
Measure the length along the slope of the stairs – not the straight-line distance on the ground.
Measure the height and depth of one step, as well as the number of steps – this will show the staircase's slope.
Note where the balustrade should be attached: to the side of the stairs, on top of the steps, or to the wall.
Take photos from the side and straight from the front.
Stairs vary greatly in slope and design. Therefore, measure the length along the slope and note the height and number of steps so that the angle is clear. Balustrade height is measured vertically from the stair nosing, not perpendicular to the slope.
Measure the length along the slope of the stairs – not the straight-line distance on the ground – and note the height and number of steps.
Once you've measured the space, it's a good idea to double-check a few extra details. This makes it easier to choose the right solution and reduces the risk of misunderstandings later in the process.
Start and end
Record the measurements for each side, particularly if the balustrade turns a corner.
Mark stairs, gates, doors, or other areas where the balustrade should not continue.
Check whether the balustrade is to be mounted on top of the substrate, on the side, or against a wall.
Make sure the surface where the balustrade is to be attached is stable and suitable for installation.
Please feel free to include photos and a simple top-down sketch along with the measurements.
It's perfectly normal to feel unsure before ordering a made-to-measure balustrade. If you have a sketch, some photos, or approximate measurements, we can help you figure out the next steps.
Mark the sides, corners, openings, and where the balustrade should begin and end.
Feel free to take photos both from a distance and close to the mounting surface.
Write down each side separately and give the measurements in millimetres.
You don't need to have everything ready before you contact us. The most important thing is that we get a clear picture of the location.
Once you have measured the space, you can use our design tool to start planning your balustrade. If you are unsure about anything, you can book a personal consultation or contact us before placing your order.
Make sure that each side is measured separately.
Note any openings, corners, stairs, and the layout.
Please have some pictures or a simple sketch handy.
Your basket will be emptied if you switch to another country.